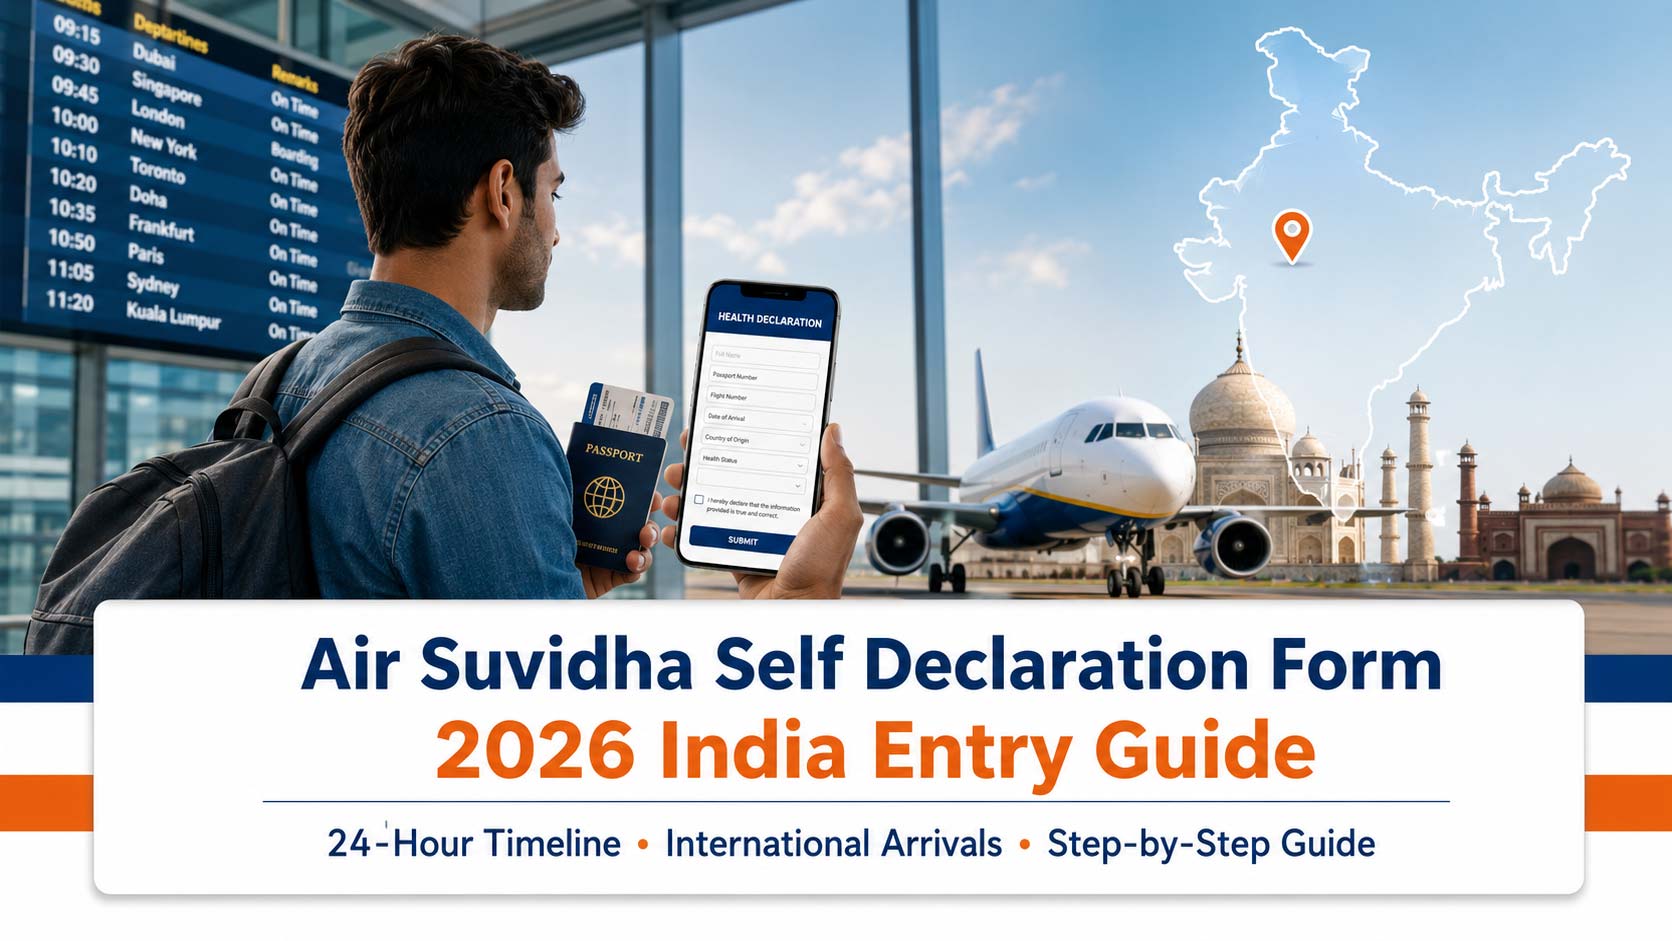
Key Takeaways
- Mandatory Entry Rule: All international arriving passengers to India must complete the Air Suvidha Self Declaration Form online.
- Strict 24-Hour Window: You must submit your online application within 24 hours before starting your journey.
- Pathogen Surveillance: Air Suvidha 2.0 integrates active Ebola disease surveillance. Accurate disclosure of your 21-day travel history is required.
- Legal Enforcement: The declaration is legally enforceable under the Epidemic Diseases Act, 1897, and the Disaster Management Act, 2005.
- Landing Protocol: You must present your unique Air Suvidha registration number at the APHO Health Desk upon landing.
What is the Air Suvidha Self Declaration Form?
The Air Suvidha Self Declaration Form is an official digital entry document managed on behalf of the Ministry of Health and Family Welfare (MoHFW), Government of India. It works as a centralized health screening system designed to monitor international arrivals, manage cross-border epidemiological threats, and ensure public health security at all Indian entry points.
Air Suvidha Portal Architecture
Loop-Based Process Flow Architecture
Primary passenger info & flight schedules
Communication check & secure verification
Final data submission and declaration check
Medical logs, safety rules, and history details
Generation of Unique Air Suvidha Registration Number
Every international traveller arriving in India must complete this health declaration before boarding. The system streamlines border control, tracks high-risk transit paths, and provides real-time passenger logs to airport health authorities.
Why is Air Suvidha 2.0 Mandatory for India Travel?
Air Suvidha 2.0 serves as India’s frontline digital defense against imported public health emergencies. While its initial iterations focused on respiratory pandemic control, the platform has been updated into a permanent health security asset.
The Legal Framework of Indian Entry Declarations
Filing this form is a strict statutory obligation. The Indian government has anchored the Air Suvidha system within its national security and emergency public health frameworks:
- The Epidemic Diseases Act, 1897: This legislation grants authorities the power to execute special travel restrictions and prescribe border screening rules to prevent the introduction of dangerous infectious diseases.
- The Disaster Management Act, 2005: This statute provides the legal framework for rapid contact tracing across state borders. It empowers district authorities to enforce isolation protocols based on the address logs provided in your form.
- International Health Regulations (IHR) 2005: The digital form satisfies global multi-lateral reporting requirements, ensuring India’s border screening remains aligned with international health standards.
Important Notice: Providing false health declarations, concealing a recent 21-day travel history to monitored high-risk regions, or misrepresenting symptoms constitutes a punishable offense under Indian law.
When to Submit Your Air Suvidha Form
Timing your online submission is critical to avoiding boarding denials at international departure terminals.
Do not submit before this timeline
Must be completed online prior
The 24-Hour Rule
The online application must be completed within 24 hours before the start of your journey.
- Why this rule exists: It ensures that your declared health status reflects your physical condition right before departure. This prevents outdated medical logs from compromising border screening systems.
- What happens if you submit early? The portal validation scripts will reject departure dates that fall outside the active 24-hour window.
- What happens if you miss the window? Airline check-in desks look for a valid registration acknowledgement before issuing boarding passes. Missing the window can lead to immediate boarding denial at airports like London Heathrow or Manchester.
Step-by-Step Guide to Filling Out the Air Suvidha Form
Navigating the official portal requires careful attention to detail. A single typo can make your registration invalid. Here is a comprehensive walkthrough of each step on the platform.
Step 1: Personal and Flight Details (व्यक्तिगत एवं उड़ान विवरण)
This section collects your identity documents, arrival logistics, and recent international transit history.
Step 1: Requisite Documents Reference
1. Personal Details
- Full Name (पूरा नाम): Type your complete legal name exactly as it appears on the biographical data page of your passport. Do not use nicknames or abbreviations.
- Gender (लिंग): Select Male, Female, or Other.
- Nationality (राष्ट्रीयता): Choose your passport-issuing country from the extensive dropdown list.
- Passport Number (पासपोर्ट नंबर): Input your precise passport identification alphanumeric code. Double-check that you haven’t confused the number zero (
0) with the letterO. - Age (आयु): Enter your current age in years.
2. 21-Day Travel History Configuration
The portal features a prominent module for active disease surveillance. You must select any Ebola-affected countries or specific high-consequence risk areas you have visited, resided in, or transited through within the past 21 days. If you have only stayed within your origin country, select “None of the above”.
3. Flight Logistics Data Fields
- Arrival Date & Time (आगमन तिथि एवं समय): Select your scheduled Indian landing date and choose your estimated arrival time using the 24-hour format options (e.g.,
20:15,22:30). - Flight Number Arriving in India (भारत आगमन की उड़ान संख्या): Enter your full airline carrier code followed by the flight number digits (e.g.,
AI112,6E1234). Do not input a digits-only format. - Seat Number (सीट नंबर): This field is completely optional. If your airline has not yet assigned your seat during your 24-hour pre-flight check-in window, leave this blank.
4. Mapping Destination Places to Visit in India (भारत में भ्रमण हेतु शहर/राज्य)
The system uses this layout to map potential contact tracing paths across provincial boundaries. You must explicitly select every individual Indian State and subsequent District you intend to visit. If your trip involves staying across multiple regions, use the “+ Add state / district” button to append additional rows.
Data Input Field | Format Requirement | Operational Purpose |
|---|---|---|
First Airport of Entry | Dropdown selection (e.g., DELHI – DEL) | Routes your file to the correct local APHO team |
Country of First Boarding | Geographic country selection | Pinpoints the deep origin of your journey |
Date of Departure | Calendar Select (dd-mm-yyyy) | Tracks exposure incubation timelines |
Countries of Transit | Multi-select array | Captures airport layout and hub exposures |
If you are flying directly without intermediate connections, choose the “No transit / Direct flight” option to clear the sub-menus.
Step 2: Contact and OTP Verification (संपर्क एवं OTP)
This block verifies that Indian health authorities can reach you if a passenger on your flight later tests positive for a monitored disease.
- Address Logs: Provide your complete destination residential address, hotel location, or family home details in India. For foreign nationals visiting without a permanent address, your primary hotel details must be entered here.
- Contact Details: Enter a valid, monitored email address and your active phone number. If you are using a UK mobile phone number, include the correct international dialing prefix (
+44). - One-Time Password (OTP) Validation: Click the verification button to trigger a live security token to your registered inbox or mobile device. Input this code into the portal to unlock the subsequent health sections.
Step 3: Health Declaration Protocols
This module changes based on the information provided in previous steps. It uses dynamic visibility logic to tailor questions to your travel profile.
- Conditional Visibility: This step is displayed only if you declared exposure to, transit through, or arrival from an Ebola-affected country in Step 1.
- Symptom Review: You must confirm or deny whether you are currently experiencing any key clinical indicators: elevated fever, persistent vomiting, unexplained rashes, or spontaneous bleeding.
- Medical Certification: If you have any non-contagious pre-existing medical conditions that mimic these symptoms, ensure you travel with a signed English medical certificate to present during your physical screening.
Step 4: Consent and Submit (सत्यापित करें)
The final step requires you to complete a formal review of your entered data profile.
- Statutory Declaration: Read the statutory declaration notice carefully. By checking the consent box, you confirm that your answers are completely truthful and accurate.
- Data Privacy Consent: You authorize the secure collection, cross-border transmission, and processing of your personal and medical information by public health authorities under the Air Suvidha 2.0 Privacy Policy.
- Document Generation: Click Submit. The system will instantly generate your unique Air Suvidha Registration Number and provide an official PDF acknowledgement slip.
What Happens Upon Landing at Indian Airports?
Completing the online form is only the first part of the process; you also need to clear the physical health desks at the airport.
1. The APHO Health Desk Checkpoint
Before heading to the standard immigration counters, all international passengers must pass through the Airport Health Organisation (APHO) desk. You must show your Air Suvidha registration number or downloaded PDF acknowledgement slip. You can present this either as a physical printout or digitally on your mobile device.
2. Non-Invasive Thermal Screening
As you walk through the health lanes, automated thermal imaging arrays scan every passenger for elevated body temperatures. If the cameras detect a fever, or if your barcode shows a history of visiting high-risk regions within the past 21 days, you will be directed to a separate medical room for secondary screening.
3. Clearing Passport Control
Once the APHO officers verify and stamp your health acknowledgement, you can proceed directly to the regular passport control desks to complete your immigration entry processing.
Post-Arrival Protocol: The 21-Day Monitoring Window
Your responsibilities do not end once you leave the terminal. Because many infectious diseases have incubation periods that last several weeks, the Ministry of Health and Family Welfare enforces a 21-day active health monitoring window starting from your date of entry.
Emergency Action Protocols
If you experience a fever, vomiting, unexplained rashes, or bleeding within 21 days of arrival, follow these steps immediately:
- Isolate Immediately: Stay in your room and avoid close contact with others, including family members, hotel staff, or the public.
- Call Helpline 1075: Dial the central toll-free national health emergency hotline (1075) immediately. Operators are available around the clock and provide support in both English and Hindi.
- Provide Your Registration Number: Share your original Air Suvidha registration number with the operator. This allows them to instantly access your travel history and coordinate assistance with local medical teams.
Correcting Mistakes: The Online Amendment Window
It is easy to make a small typo when filling out forms on a phone screen at a busy departure lounge. If you spot an error after submitting, the platform includes a built-in correction feature.
Air Suvidha Amendment Process
Correcting or Updating an Existing Application Submission
How to Edit Your Submitted Form
- Return to the official Air Suvidha portal.
- Click the link labeled “Click here to edit” to open the amendment window.
- Enter your passport number along with your original registration reference to verify your identity.
- Correct the incorrect information (such as updating an unassigned seat number or fixing a misspelled hotel address).
- Submit the form again to generate an updated PDF acknowledgement slip.
Note: If the online amendment window has already closed for your flight, do not attempt to create a completely new profile. Instead, explain the error directly to the APHO health officer at the airport desk upon landing, and they can update your file manually.
Strategic Travel Advice for UK-to-India Routes
Travelling between the United Kingdom and India requires careful preparation, whether you are an OCI holder visiting family or a British tourist exploring India for the first time. Keep these practical tips in mind for your journey.
Managing Mid-Flight Layovers
Many popular routes from airports like London Heathrow (LHR), Manchester (MAN), or Birmingham (BHX) include layovers in Middle Eastern hubs like Dubai (DXB), Doha (DOH), or Abu Dhabi (AUH). When filling out Step 1 of your form:
- Set your “Country of First Point of Boarding” to the United Kingdom.
- Add your stopover country under the “Countries of Transit” section.
- Ensure all stopover dates match your actual flight itinerary exactly, as inconsistencies can cause automated flags in the screening system.
Pre-Flight Compliance Checklist
To ensure a smooth and stress-free journey, make sure you complete these steps before heading to the departure terminal:
Frequently Asked Questions
Get Expert Assistance for Your UK–India Journey
Navigating international travel requirements, shifting health regulations, and border paperwork can feel overwhelming. If you want complete peace of mind for your upcoming trip, the advisory team at DiuMitra is here to guide you every step of the way.
- Tailored Solutions: Receive one-on-one clarity regarding the 24-hour filing countdown and the latest regional entry notices.
- Error Prevention: Ensure your passport details, flight configurations, and mandatory transit histories match up precisely before your departure date.
- Stress-Free Travel: Eliminate the risk of airport delays or boarding denials caused by accidental form errors.
⚠️ Advisory Disclaimer: DiuMitra offers professional travel guidance and independent document review services. We are an advisory group and are not affiliated with the Indian Ministry of Civil Aviation or any sovereign government entity. For official, self-managed submissions, please access the public terminal directly at airsuvidha.civilaviation.gov.in.